CHOC MUESLI BARS

Image

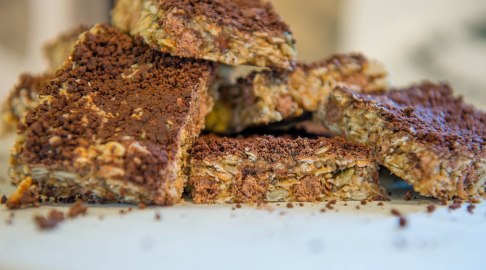
Choc Muesli Bars

I am living in denial about the impending end of school holidays – MOO is back at school on Monday which means an end to my blissful holidays where there is no whining about who has what in their lunch boxes. This year I need to get creative, I need to get him excited and proud to show off his lunch box and not worry so much about the packaged goodies in everyone else’s. These muesli bars were my first experiment and I think went down well, we sent him with them to daycare’s “bring a plate” day and the “plate” came back empty – in fact it was even these guys that were responsible for the first missing tooth! I can feel pretty good about serving these for a snack or treat knowing they pack a punch or iron, protein and all things good – only a small amount of chocolate goes a long way and although I have used the thermomix to make these, I imagine it would be just as easy without one! It’s just a case of melting and combining really. 

INGREDIENTS: 

100g Butter (I used Nutelex – which is vegan friendly) 

90g Brown Sugar 

95 Oats (I used GF oats, though I imagine Quinoa Flakes might do the trick too) 

100g Toasted Muesli (any will do we used GF) 

40 Shredded coconut 

25g Black Chia  

90g Honey (Raw)

2tsp Vanilla Bean Paste  

50g Cocoa Puffs (GF) any cereal or puffs could work 

15g Pepitas 

20g Flaxseed 

**Amounts of dry ingredients are rough – just chuck it all in and mix up the variations 

METHOD

  1. Place Butter, Honey, Sugar and vanilla into TMX bowl and melt on 100 degrees for 3.5 minutes, speed 2. (This can easily be done in a saucepan, just stir until everything has melted) 
  2. Add remaining ingredients to TMX bowl on speed 2 for 30 seconds to combine  (I would suggest putting remaining ingredients in a separate bowl and covering with butter mixture if not using a thermomix) 
  3. Once combines pour into a lined tin 
  4. Either grate or blitz some dark LF chocolate in the TMX, Turbo 3 seconds, and sprinkle on top

Set in the fridge for a few hours before slicing – keeps well for about 10 days in the fridge. Does got a bit soft out of the fridge but still really tasty 🙂 

Enjoy xo 

Image

GREEN JUICE

Image

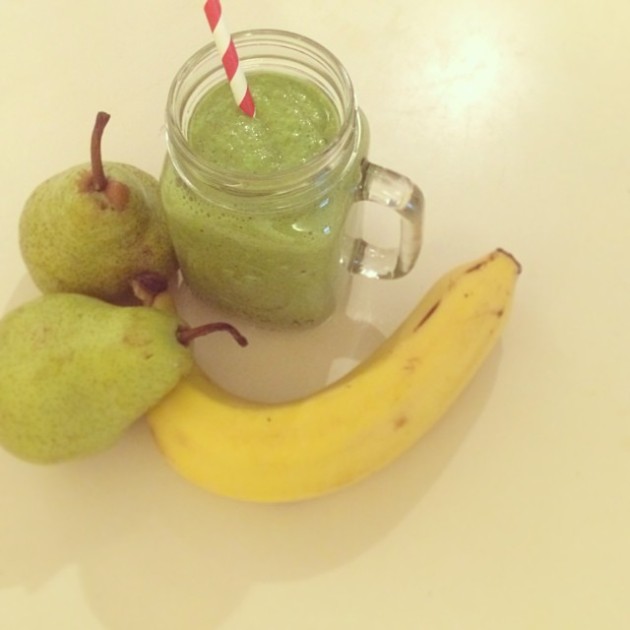
Green Juice 

Which are you? A blender or a juicer? Me – I’m a blender I like to get as much into the juices and smoothies as possible and this is an example of just how great it can get! Moo was super skeptical when this was dished up with his breakfast – he took a sip and wasn’t totally thrilled but I dare say he will come around! I have faith! It’s a great morning flavour! 

RECIPE 

1x Pear 

1x Frozen Banana  

1x Handful of spinach 

3x Tbs rolled oats

1x Tbs almonds 

1x Cup of coconut water 

METHOD

  1. Blend and enjoy!! 

I keep a bag in the fridge of all these ingredients already portioned out for a quick morning treat. just open the bag dump it in the blender and good to go. The only tip I have is to make sure you add the banana frozen – it’s what cools the smoothie 🙂 


POP ‘EM PIZZA

Image


Pop Em Pizza 

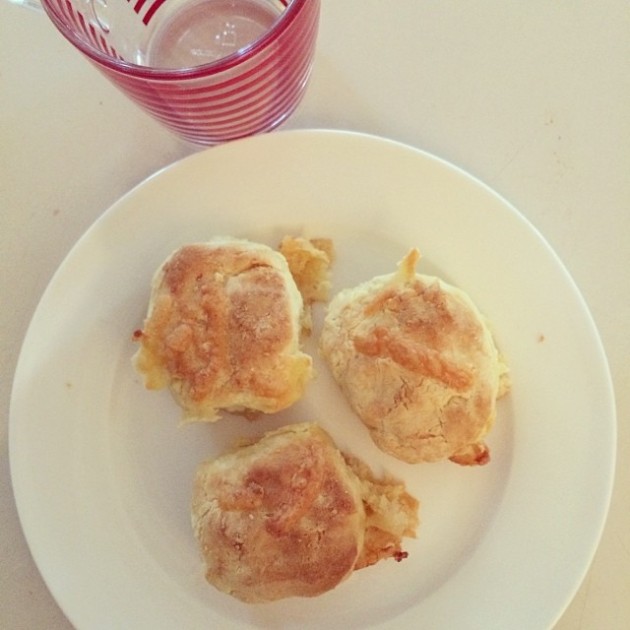
we have had a few dad free nights this month leaving room for some kid friendly (mum friendly) dinners. MOO has been begging me for pizza for weeks and one night I realised it was late and tomorrow is a school day – these really are great in the lunchbox, they can be frozen and make a tasty treat for dinner. You make your own dough but for me I use a packet one because it’s neater, easier and probably safer – yeast and I don’t always agree. 

RECIPE

1x Packet Gluten Free {or normal} pizza dough

Cheese ({we used lactose free but mozzarella is my fav} 

250g sliced salami 

pizza sauce of your choice 

METHOD 

  1.   Prepare the dough as per instructions 
  2. Instead of rolling out, grab a small handful and flatten in the palm of your hand 
  3. Add a dollop of sauce, some cheese and some Salami 
  4. Wrap the dough around the filling and form a small ball 
  5. Pop into a greased baking tray and repeat. When I make this one box of dough normally makes about 20 
  6. Once complete spray lightly with olive oil, sprinkle with some cheese and pop into the oven at 180 for 20 minutes 


Power Bars

Image

POWER BARS 

I confess I forgot all about school tomorrow! It is 8pm and I am washing uniforms, packing lunch boxes and discovering I have not prepared anything awesome for lunch.

Tonight we had pizza for tea – I have discovered mashed roast pumpkin is incredible as a sauce base and as long as I call it orange sauce Moo eats it up. I cheated and made tonights on Gluten Free wraps and topped Moo’s with cheese (I know sounds gross but oddly it worked and he couldn’t get enough of it!) Us grown ups had other roast vegetables like eggplant and red onion mmmmm

I had some left over pumpkin and some fruit going off so I whipped up a batch of our favourite power bars (great name if you have a super hero mad child – gives them super strengths!)

RECIPE 

2/3C Nut Butter

10tbs Cooled Roast Pumpkin (roughly)

1.5C Shredded coconut

1 whole ripe banana

2tsp Cinnamon

2tsp Vanilla

pinch of salt

METHOD 

  1. Pre heat oven to 180 degrees
  2. Combine ingredients in order as listed above in your blender or food processor (this is a time saver if you don’t have or want to use a machine – Mash the nut butter, pumpkin and banana together then stir in the remaining ingredients)
  3. This mixture will go mushy, almost cake like
  4. Place into prepared lined tin, I think mine is 20cm x 20cm and it filled this nicely.
  5. Bake for about 1 hour (keep an eye on them to avoid burning like I dod … whoops)
  6. Let cool in the tin then transfer to a wire rack, slice and serve.

I just adore this recipe, and whilst I would rather he willingly eat vegetables and fruit I take comfort knowing that he thinks he is eating super hero cake and not picking bits and bobs out of it!

You can make this recipe in mini / individual loaf tins also and serve as a breakfast with some fresh berries and a drizzle of honey – YUM

The best part about this recipe is it doesn’t have to be exact – you can play with it – add and take bits out – tonight I fell short on the pumpkin and coconut and they are still amazing!

Here is a picture of our thrown together lunch for tomorrow

Image

I think I will also let him take some left over pumpkin pizza as I fully expect the fruit salad to make it home along with the vegetable sticks – but I mum can dream right? At least the power bars will keep him moving and focussed!

xox

Chocolate Pots

Image

CHOCOLATE POTS 

We made this as a sort of modern day fondue night one night when the family got together. Was a quick, simple dessert and convinced MOO to try some fruits, although he decided he didn’t like any of them and opted for the pastries instead. 


RECIPE 

1x Block good quality dark chocolate 

300ml Cream 

Pastries 

Fruit 

METHOD 

  1. Melt the chocolate in the cream, we used the double boiler method, although I daresay this would work over a low heat – just be careful that the chocolate doesnt burn or the cream curdle 
  2. Dice the fruit
  3. Arrange the pastries 
  4. Serve

Ours was served on a large board and everyone had their own “dipping pots” the chocolate was a bit rich and I think the pots were a bit deeper than what we needed but absolutely a great way to top off a meal with friends or family.